 1.0 Introduction
Suse-based distros are a little bit tricky: SLES is the Suse Linux Enterprise Server and is a commercial, server-grade, heavy duty distro. The community release of that same software is called OpenSuse Leap. The 'preview' code that will eventually become OpenSuse Leap (and hence SLES) is available in the form of OpenSuse Tumbleweed. Think of Tumbleweed as a rolling distribution that's ever so slightly unstable; Leap is a rather more stable version of that; and SLES is the final, commercial-grade release of that stabilised code.
Since SLES costs money and I'm too cheap to part with any, Semplice has not been tested on SLES. But it runs perfectly fine on both Leap and Tumbleweed -so you might reasonably expect it to cope with SLES, too: I just can't tell you it does or not, because I literally don't have the relevant software to test on.
For this article, I'm using Leap 15.5 with a KDE-based desktop environment, but Semplice doesn't particularly care what desktop environment you use, so the instructions will work fine with the likes of Gnome, XFCE or LXQt, too.
As with all these installation articles, I assume a fresh, default installation of the underlying operating system. I always assume, however, that any installer-provided options to install third-party programs, drivers or audio codec support are taken: not that it makes any difference to the way Semplice works, but I just like to be clear on what my working assumptions are 🙂
2.0 The Installation
We begin by opening a new terminal session and typing the commands:
cd
wget doco.absolutelybaching.com/seminst
bash seminst
The first 'cd' just makes sure you're in your /home/username folder. The wget command downloads the Semplice Version 2 installer. The bash command then launches that installer:
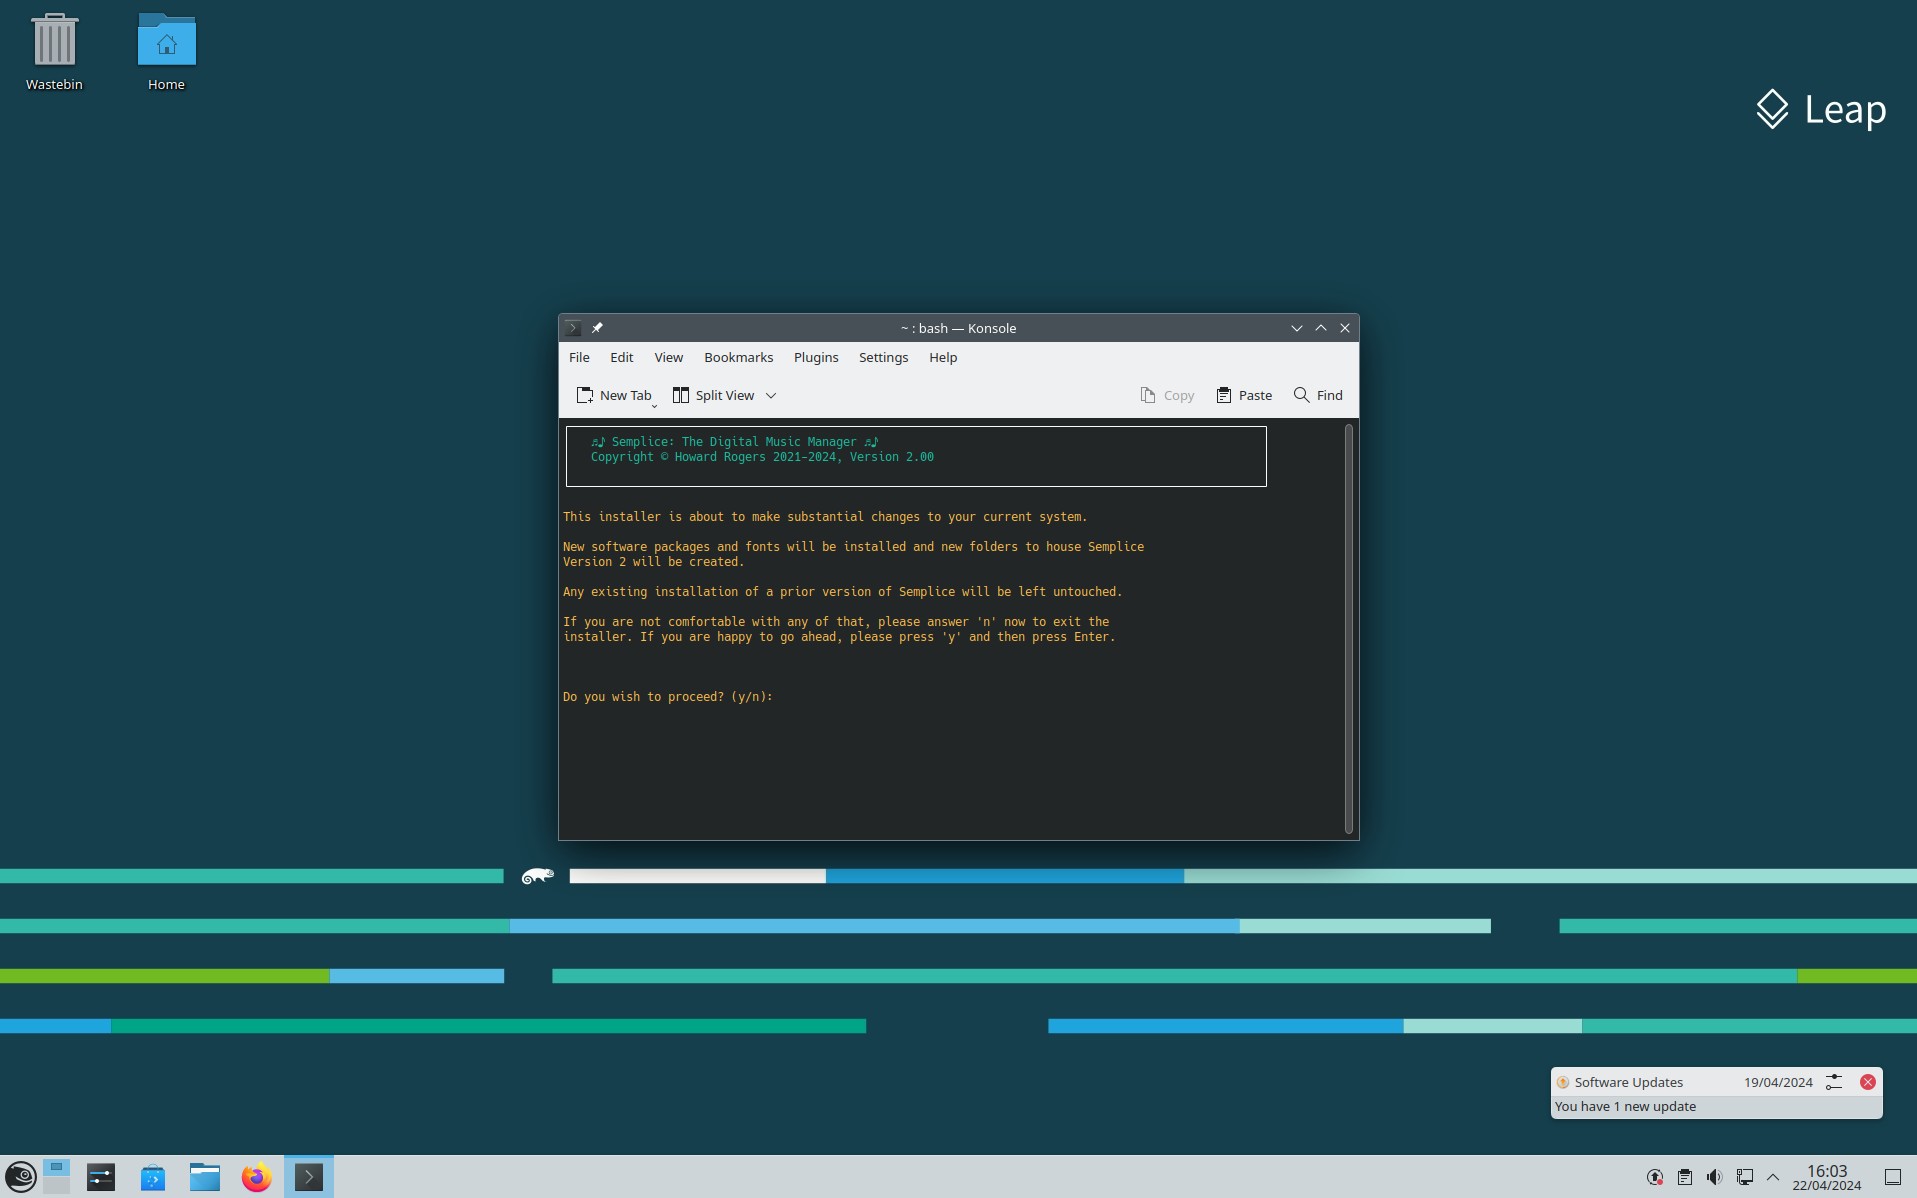
A screen-full of warning text advises you that installing Semplice will make quite considerable changes to your system. Those changes are as follows:
- Full system update, if needed
- Installation of ImageMagick, Ncurses, Cuetools, Flac, Ffmpeg, Curl, Dialog and other minor audio-visual helper programs
- Installation of thebuild-essential program group, along with python, allowing source code to be compiled into working executables
- Installation of odio-sacd, in order to be able to work with ISOs ripped from SACDs
- Installation of the python audiotools package
Additionally, of course, once all that preparation has been done, the Semplice installer will... er, install Semplice Version 2!
You can decline to proceed at this point, but if you wish to proceed, type 'y' and press [Enter]:

Semplice needs to install some software and copy files in the /usr/bin folder, so elevated privileges are required from the outset. You thus provide your own password at this point to acquire sudo rights. As soon as you do so, you'll see that various software packages begin to be downloaded in the usual fashion:
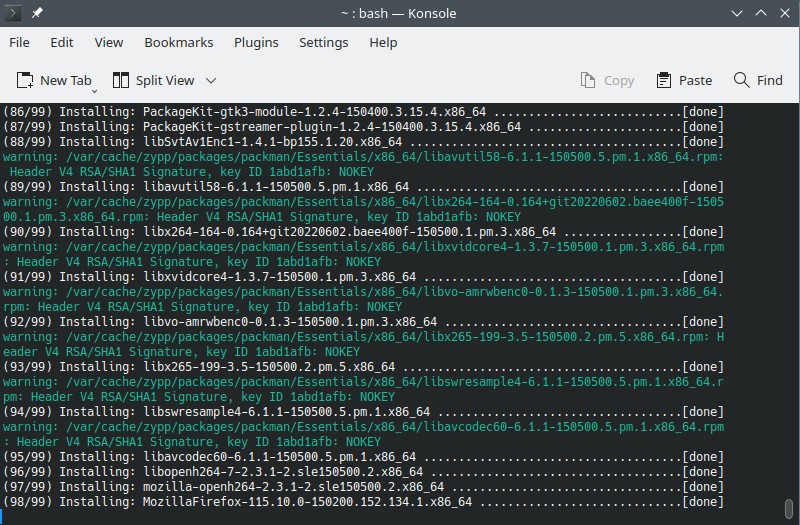
On my vanilla Leap 15.5 install, this stage of proceedings required I download 207MB of software, which isn't nothing... but isn't exactly a mountain of data either. After just a few minutes, therefore, the software prerequisites are downloaded and installed and the Semplice installer changes to display this:

This is a 'waymark' of sorts: it's telling you that the installation of third-party programs and libraries that Semplice depends on has completed successfully. If you now click [OK] at this point, the Semplice installer will move on to the next stage of the installation process, which is the installation of the Odio-Sacd ISO-reading program:
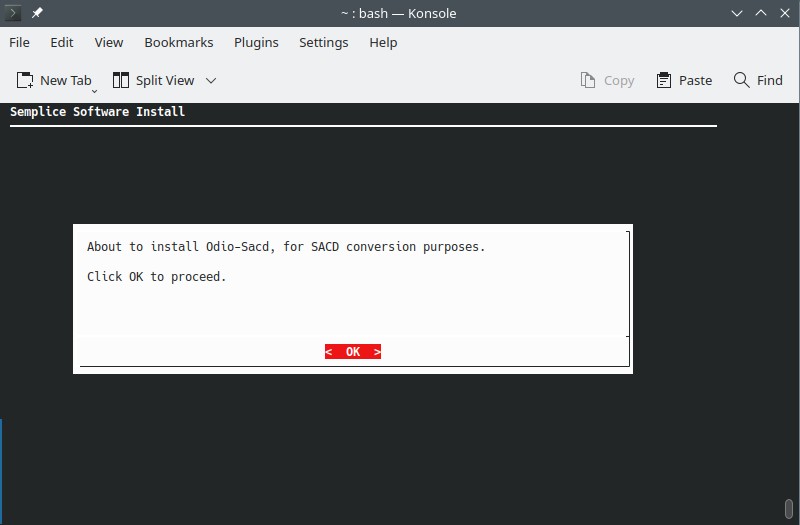
Again, click [OK] to proceed:
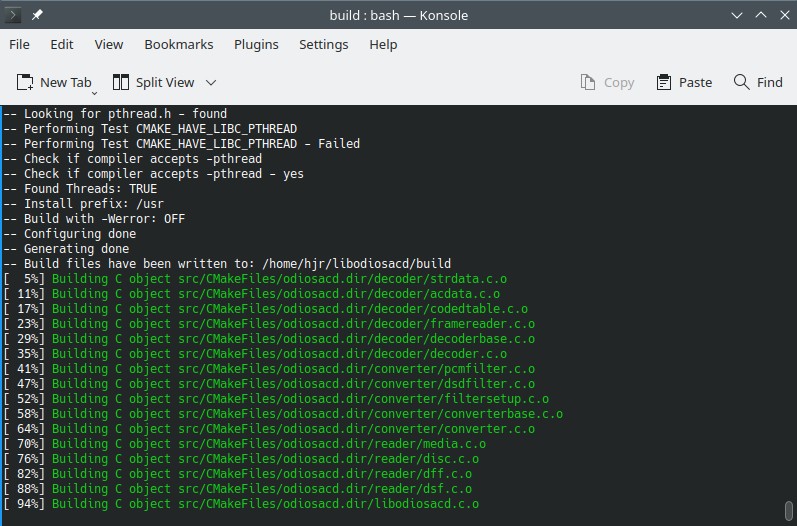
The odio-sacd installation process then involves a lot of downloading and building, including a mysterious colour change at the 5% mark! Once it completes, the Semplice installer changes once more to display this:

This is Semplice about to download the source code for the 'audiotools' program and compile it for you. Audiotools is needed to allow Semplice to compare your audio CD rips to those performed by other people in the past: if your rip agrees with them, chances are that your rip is a 'good' one. It's a minor piece of functionality in the scheme of things, but it's also nice to have. So, click [OK] to start this next phase of the install process:
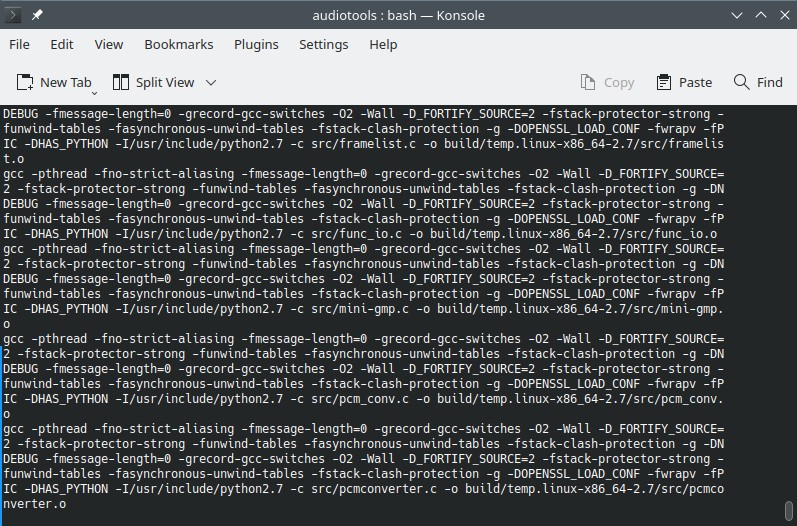
Unfortunately, the output at this point is a complete, steaming pile of gibberish, none of which is any use to you and all of which you can therefore ignore! Compiling software from source tends to look like this, I'm afraid. Anyway: be patient and eventually the screen will change to this:

This is good news: all the software dependencies have been resolved at this point; everything that needed to be installed or compiled has been; the installer is therefore now ready to download the Semplice software components themselves (finally!). As ever, click [OK] (or press [Enter]) to kick off this next stage of the process:
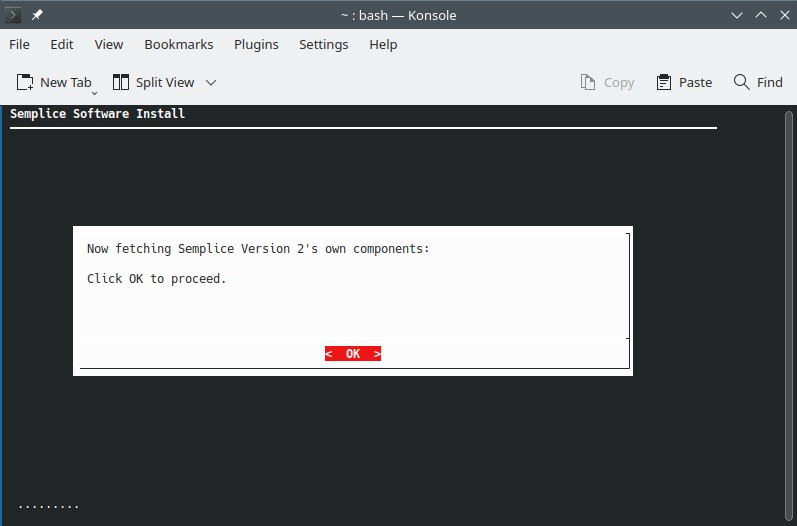
You'll see a series of dots appear in a region towards the bottom of the screen. Each dot represents one of Semplice's files; if an 'X' appears instead of a dot, it means that fetching the file has failed for some reason. You'll be offered a chance to re-try should any failures occur. If worse comes to worst, you can simply re-run the entire installation procedure (by re-issuing the bash seminst command) to fix any errors arising from, say, this site's temporary unavailability. A re-run Semplice installation will whizz through the software prerequisites part of proceedings (because, of course, everything Semplice depends on has, at this point, already been installed) and jump straight to this file copying routine. Once all the files have been fetched without error, you'll see this new message appear:
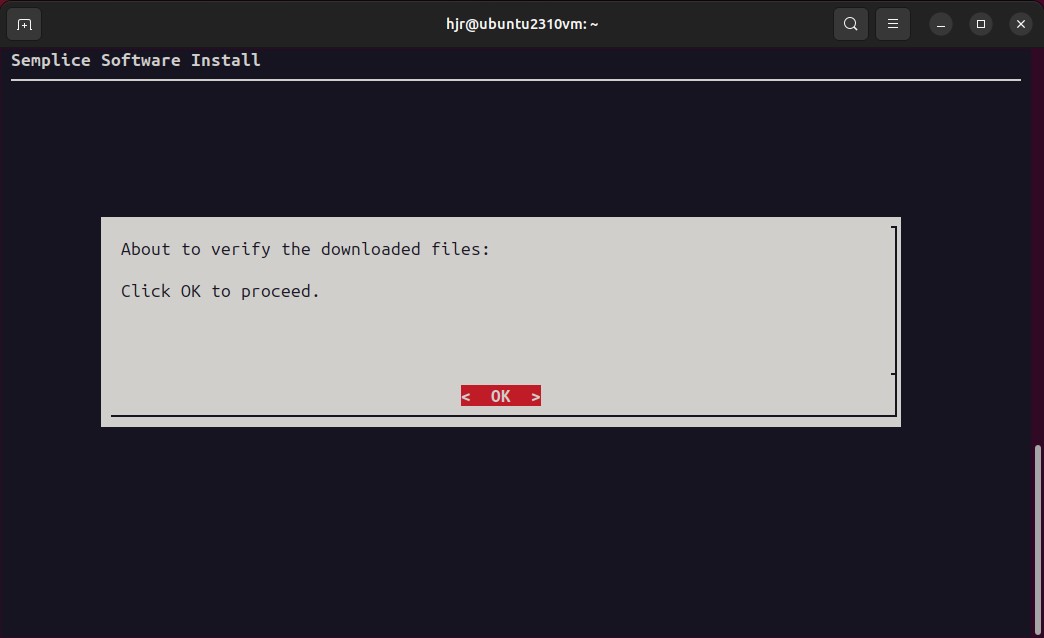
This is the file verification procedure: Semplice generates a hash sum for each of the files it's just downloaded and compares that hash sum with a list of known good hashes that I keep on this site. If the two match, we can be sure that your downloads were good ones. If they don't, you'll be warned and a second attempt to fetch known-good files will be made. Click [OK] to kick off the verification process -and be patient, because it takes a while to complete and there's no particular evidence of anything happening whilst it does so. After what will feel like hours of staring at a screen apparently doing nothing, but is in reality only a matter of 30 seconds or so, you'll hopefully see this:

This is the point where you know the Semplice installation has completed and been successful. If instead you get a message that says, "Verification of downloaded files has failed: Click OK to try downloading again" then you should click [OK] (or press [Enter] which amounts to the same thing) and let the installer have another attempt. It is in any case unusual to need a second attempt, however, and usually the second attempt fixes things without drama. If Semplice seems to behave oddly or fails to function as advertised elsewhere in this user manual, however, you may want to try re-installing it at a later time: Semplice doesn't use a database or other form of persistent storage of any great consequence, so re-installing the program multiple times does no harm.
3.0 Running the Program
With Semplice installed, the next question is: how do you run it? That kind of depends on your choice of Desktop Environment. In the KDE-based one I'm using here, I click the equivalent of the Start menu, navigate to the Multimedia menu and there find a standard program launcher for Semplice:
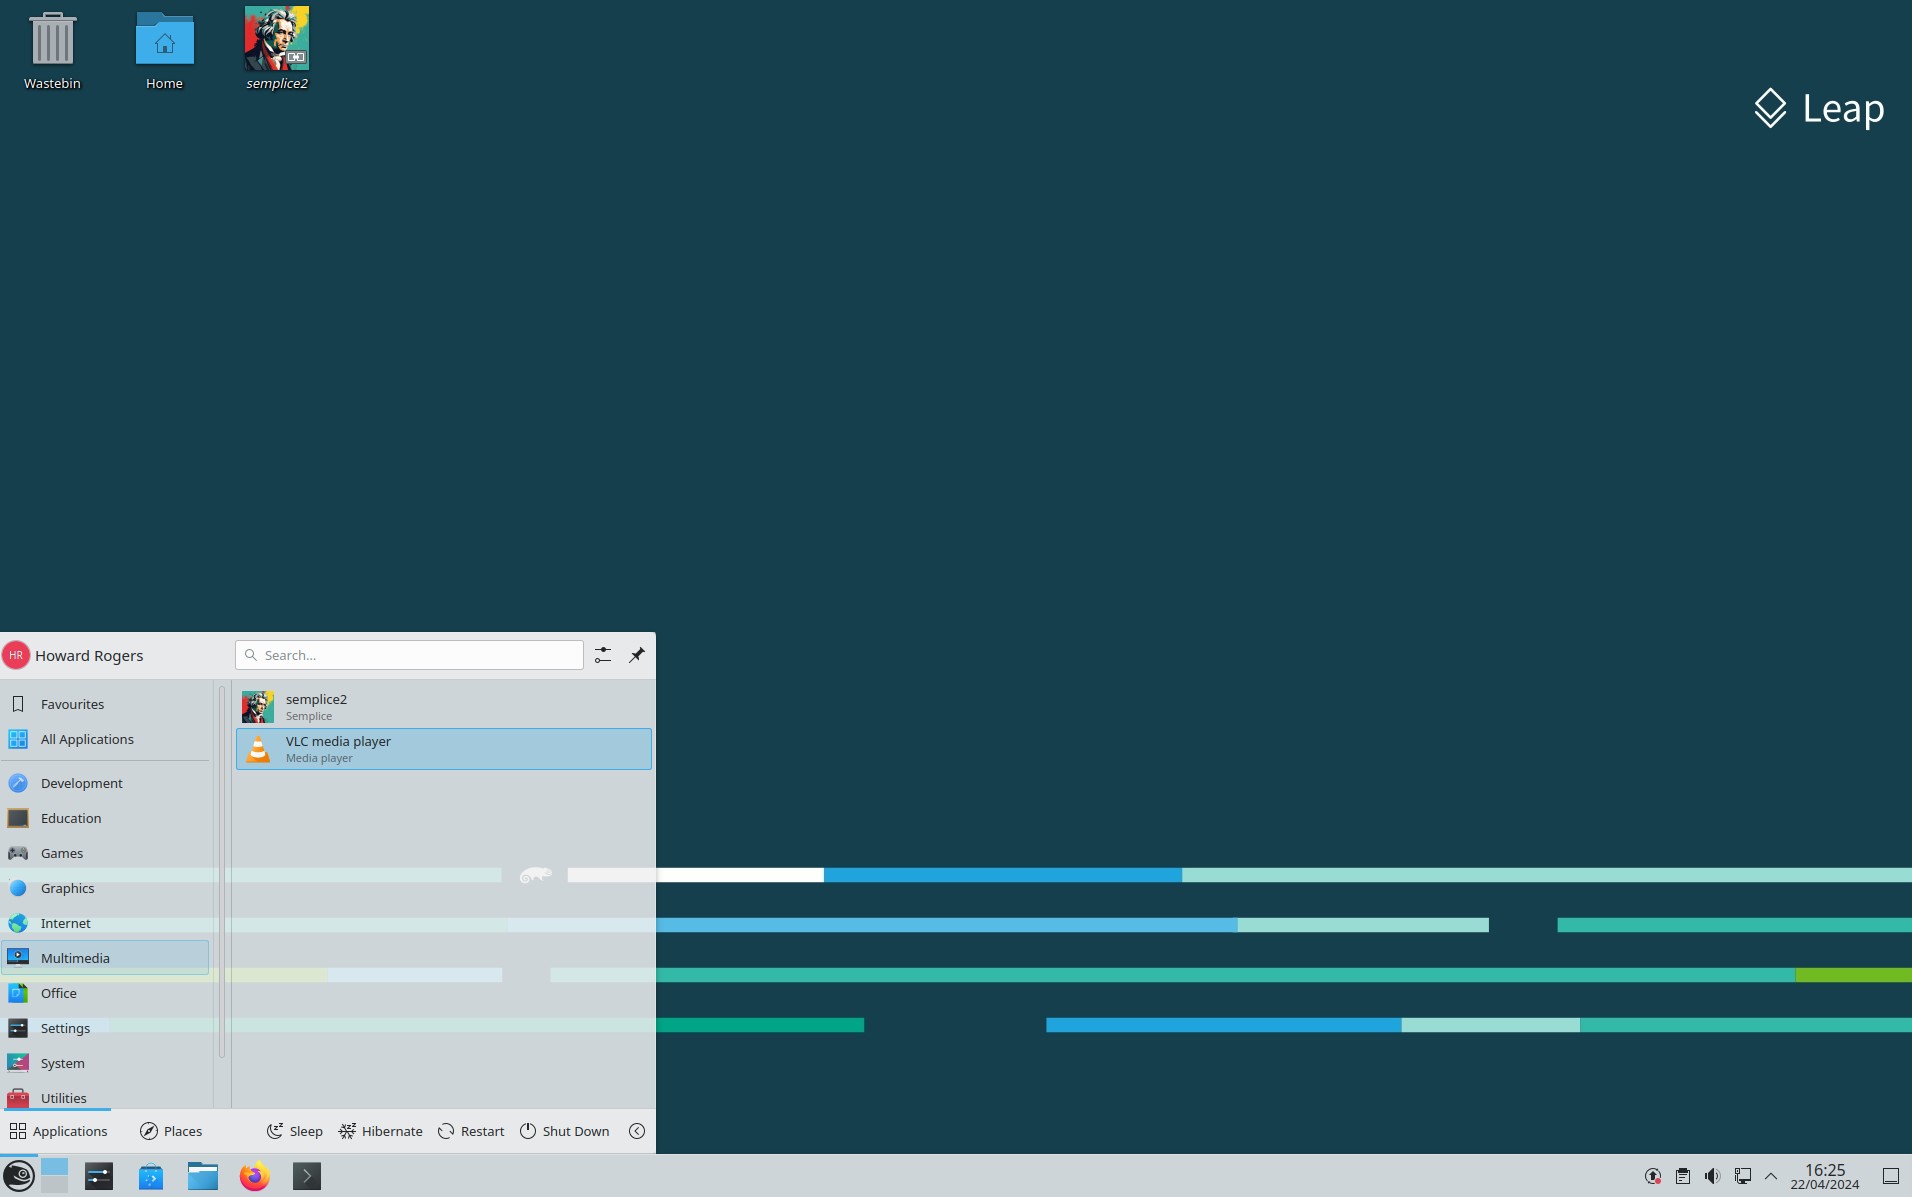
You may also notice from that last screenshot that there's a desktop icon launcher, visible in the top left-hand corner of the screen. That's really there only as a convenience, and you're recommended to delete that desktop icon whenever you're ready to do so. It's there just in case integrating Semplice into the formal KDE menus fails, but it generally doesn't, as you can see!
Having said all that, you can always open a regular terminal session and launch the program just by typing the one-word command semplice. The trouble with doing this, however, is that it will mean Semplice is running within a terminal that might not be of the correct size (it needs to be at least 103 columns wide and 28 tall) and which you've configured to have a particular colour and appearance scheme, and the results can be quite unpredictable:
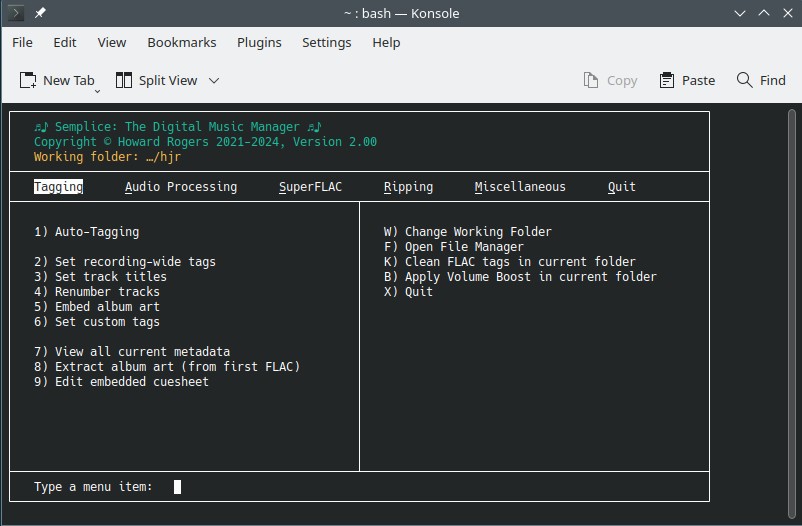
Here, the KDE default terminal is configured to use a sans serif font that's quite small, in a rather black-and-white fashion. Some people (me!) find that ugly to read as a result. What you're really supposed to see, and what you will see if you launch the program with its dedicated in-menu program launcher, is this:
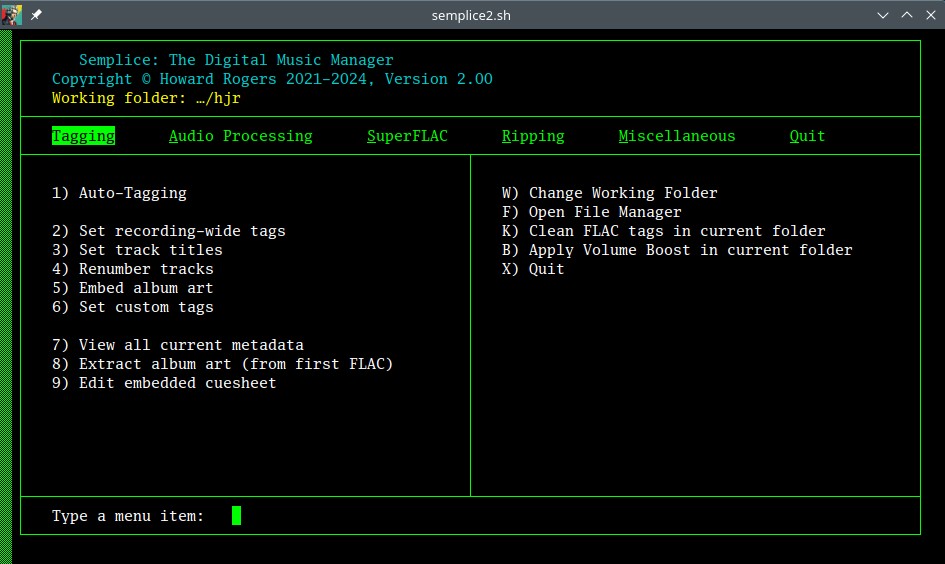
The "proper" program launcher runs Semplice within its own xterm window and, in doing so, is able to control that window's size and choice of colour scheme: as you can see, it favours a solid black background, mostly white text and green main menu and screen-drawing elements, along with the use of a serif font (which Semplice installed on your system as part of its own installation routine). You can, of course, alter the default profile of the standard terminal to achieve a similar result:

Here, for example, I've configured the standard KDE terminal to use a new 'Semplice' theme which I've set to use the built-in 'Solarized Dark' theme with the standard Hack font set to a large 13pt size in the foreground. Meanwhile, the "proper" green-on-black Semplice environment runs in the background. You have the flexibility to run Semplice however you like, therefore, and to make it look as you would prefer.
4.0 Post-Install Configuration
Once you've learned how to launch Semplice, you should take the time to visit the Miscellaneous menu and investigate the program's default configuration (Option 1): just tap 'M' to jump to the Miscellaneous menu, then tap '1' to activate that menu option. You can also arrow left and/or right to move the highlighted top menu option to the appropriate item and then tap '1' on arrival at the correct one. Either way, you'd see something like this:

There are four pages of configuration options, each dealing with a specific aspect of program operation. This first one, for example, has all sorts of options to do with how the program rips audio CDs. You should read the ripping-specific section of this user manual for full details on what to set and how, but I'd start by setting the 'Rip CDs to folder' option if nothing else, since that will determine where CD rips are stored on your local hard disk. The default is $HOME/Music, but that may be quite inappropriate for your purposes. Press [OK] to move to the next page of configuration options:
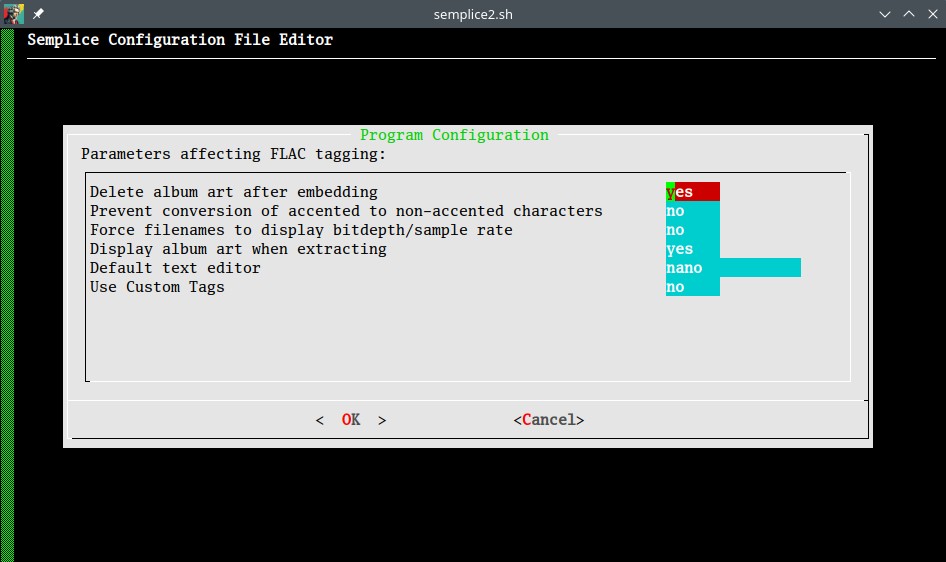
This time, the page concerns how Semplice's tagging options work. Again, see the tag-specific sections of this manual for specific details about each option, though the defaults here will probably be reasonable for most people. Another press of [OK] (or Enter) takes you to the third page of options:
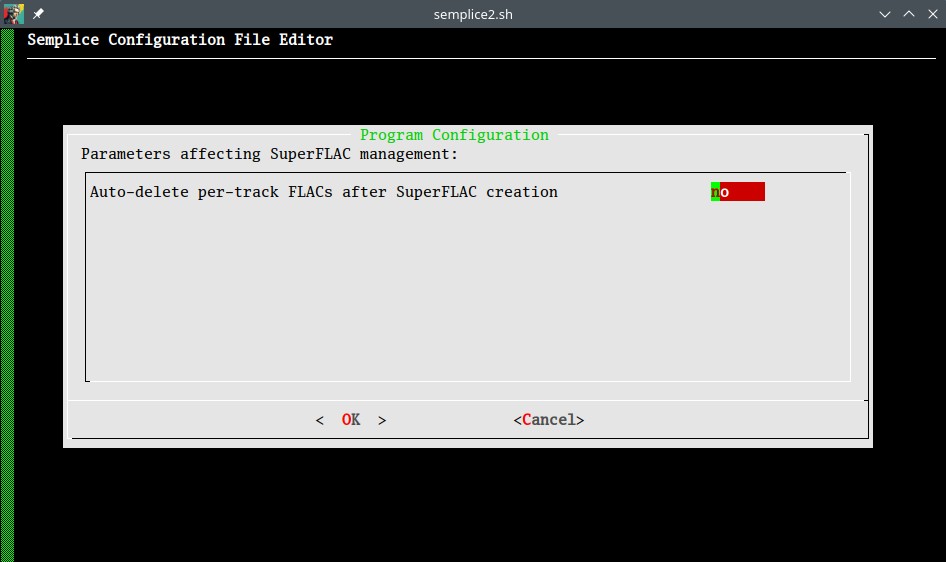
There's only one parameter (currently!) that governs Semplice's 'SuperFLAC' behaviour, and the default is again a safe one (i.e., not to delete source files automatically after creating a SuperFLAC from them). As ever, read the relevant section of this user manual to fully understand what's being configured here. One last press of [Enter] and we get to:
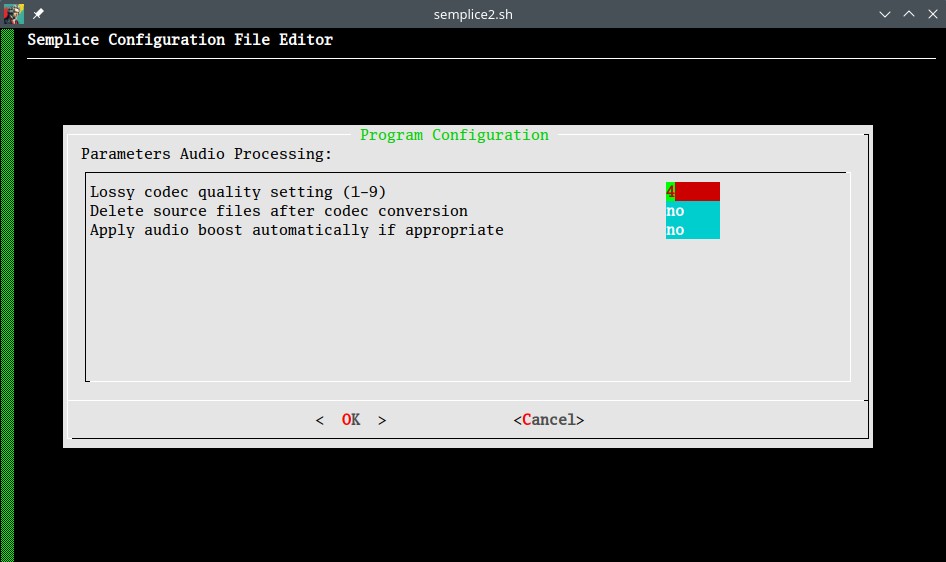
These last parameters control the 'audio processing' parts of Semplice's functionality: the defaults will again be safe and applicable to most users, but if specific need arises, you'll want to tweak them here. Consult the audio processing part of the user manual for full details.
When you have just learnt how to run Semplice, it's probably a bit ambitious to ask you to configure how it should behave, with screens full of options you won't yet understand, I realise! The main thing to grasp at this point is that Semplice's behaviour in each of its main areas of functionality can be configured, and this is the place where to configure it.
5.0 Quitting Semplice
The simplest way to leave Semplice is to tap the letter 'X' (to "exit"!). If you launched Semplice from its proper menu launcher, tapping 'x' will close the Semplice terminal and return you to your standard desktop. If you opened your own terminal and launched Semplice by typing the command 'semplice', tapping 'x' quits Semplice but leaves your terminal running, with you sitting back at your standard command prompt: the terminal itself is not shut down, however.
The menu-pressing alternative to tapping 'x' is to tap 'Q' to get to the 'Quit' menu (or use the left- and right-arrow keys to navigate there) and then to take Option 2 from it. You will note that Option 2 is entitled 'Quit with no file processing': it's a clean exit from the program that doesn't try to do anything clever with any audio files that might be in the vicinity!
If you were to instead take the Quit menu Option 1, you would instead trigger Semplice's audio file 'tag cleaning' routine before the program quits -which is fine if there are no FLAC files present in Semplice's working folder. But it's not something you want to do unintentionally in a folder full of FLACs, since it involves changing the metadata associated with FLAC files: leave Option 1 until you know what you're doing with Semplice's tagging capabilities, therefore!